Background
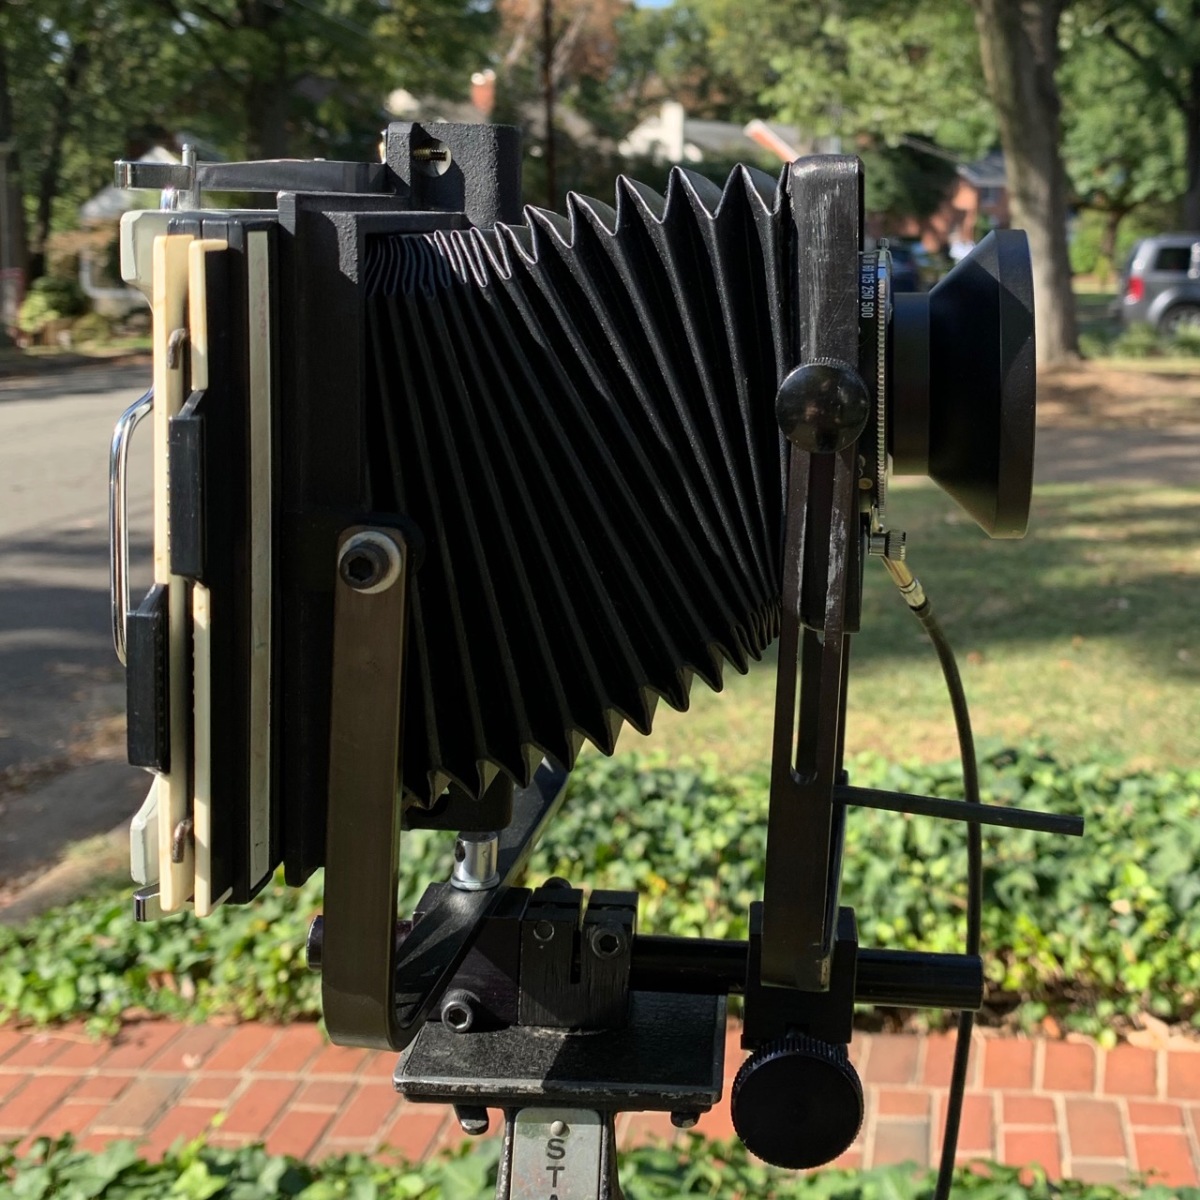
Peter Gowland was a photographer famous in the last half of the last century for his glamour shots and his custom cameras. I liked his cameras. In 1989 I called him up and ordered a Gowland 4×5 Pocket View Camera (GPV) with a Graflok back. He told me he didn’t sell them that way, but that he’d be happy to sell me one without a back and that I shouldn’t have any trouble adding one myself. Peter overestimated me.
The camera hasn’t gotten much use since then. Once or twice I borrowed the back from my B&J Orbit monorail studio camera, screwed it to the back casting of the GPV, and took it for a spin, but it was clumsy. The holes in the castings didn’t exactly align with the springs and the springs were strong enough to knock the camera out of adjustment when loading the holder. Mostly the GPV lived in a small box on a shelf. For its thirtieth birthday I decided to make it a proper back.
The camera is quite light—that’s really its superpower. While I have a few Graflok accessories, every one of them weighs more than the camera. I decided to make a lightweight back to embrace the camera’s lightness, while adding a bit of protection for its time in a bag or backpack.
Design
Weight and additional stability were my prime considerations. I decided that any modifications I made would be reversible, so, no new holes in the camera. I also decided to sacrifice any use of Graflok accessories; they’re just too heavy. If I change my thinking on this in the future it will just mean a redesign of the rails.
The build
The main build consists of six 3D printed parts and a piece of glass:
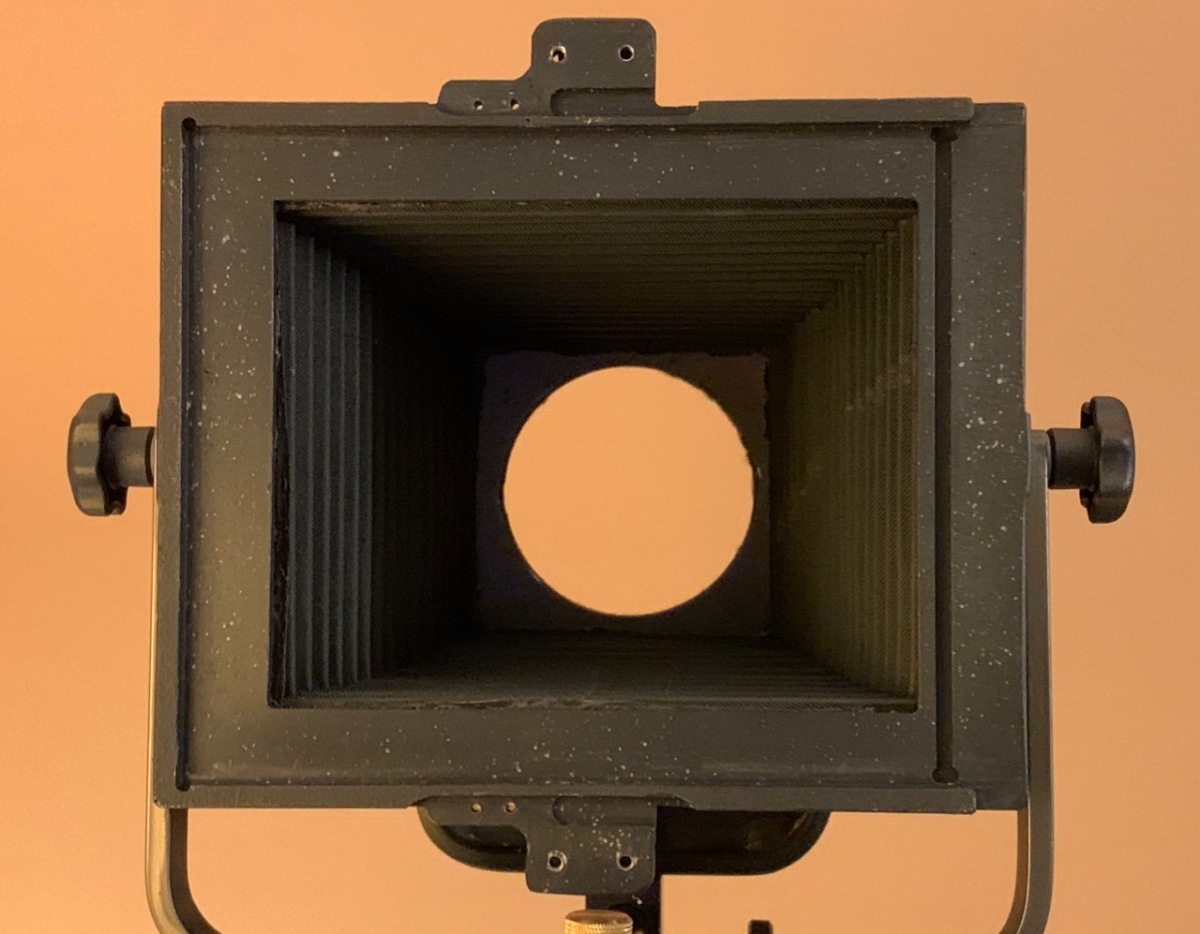
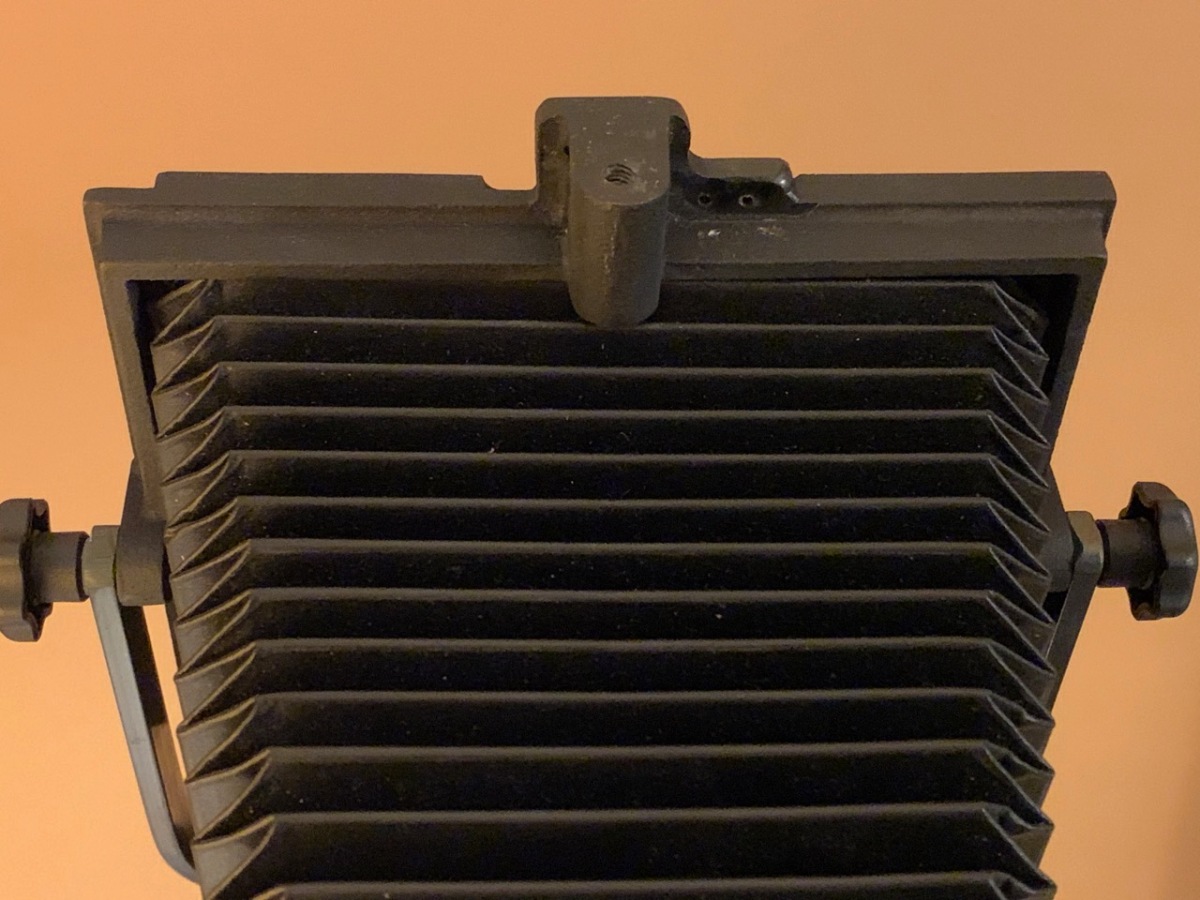
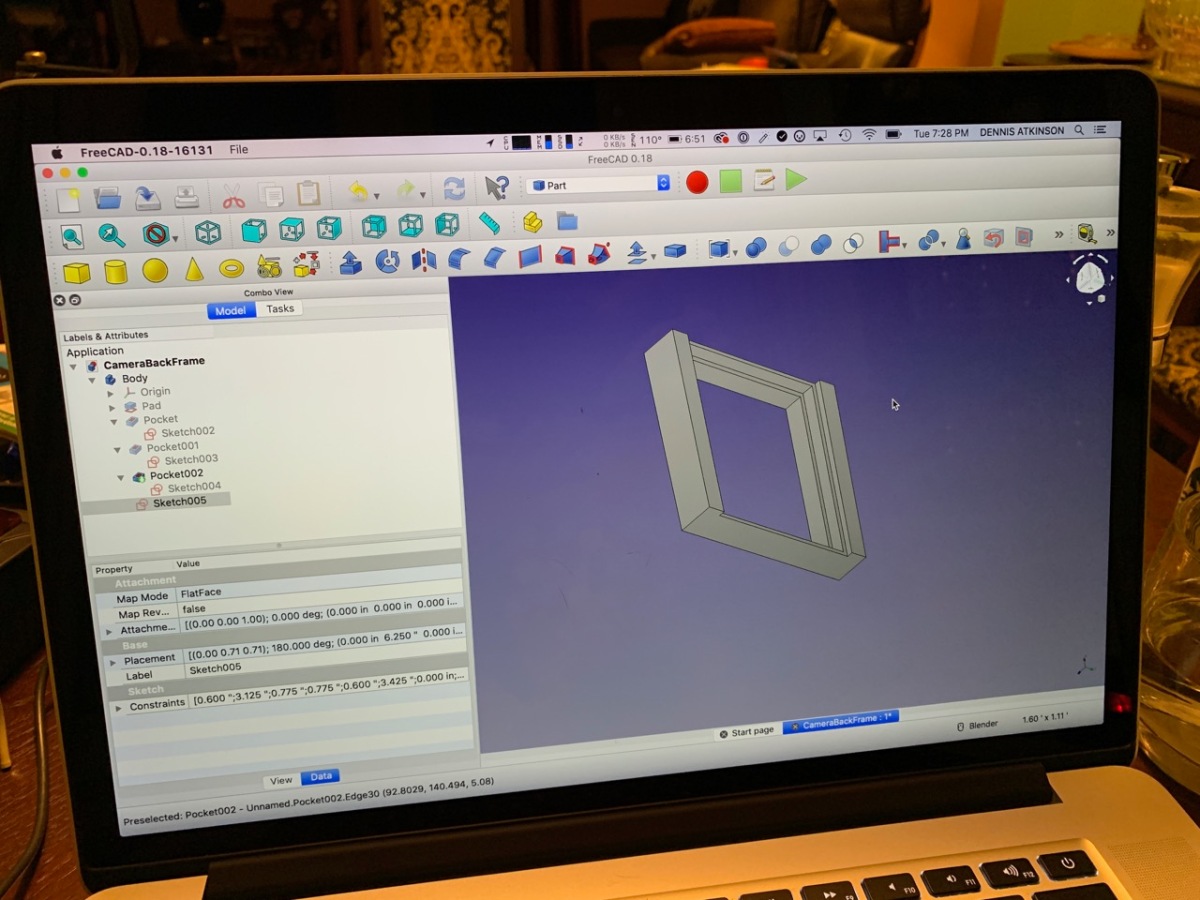
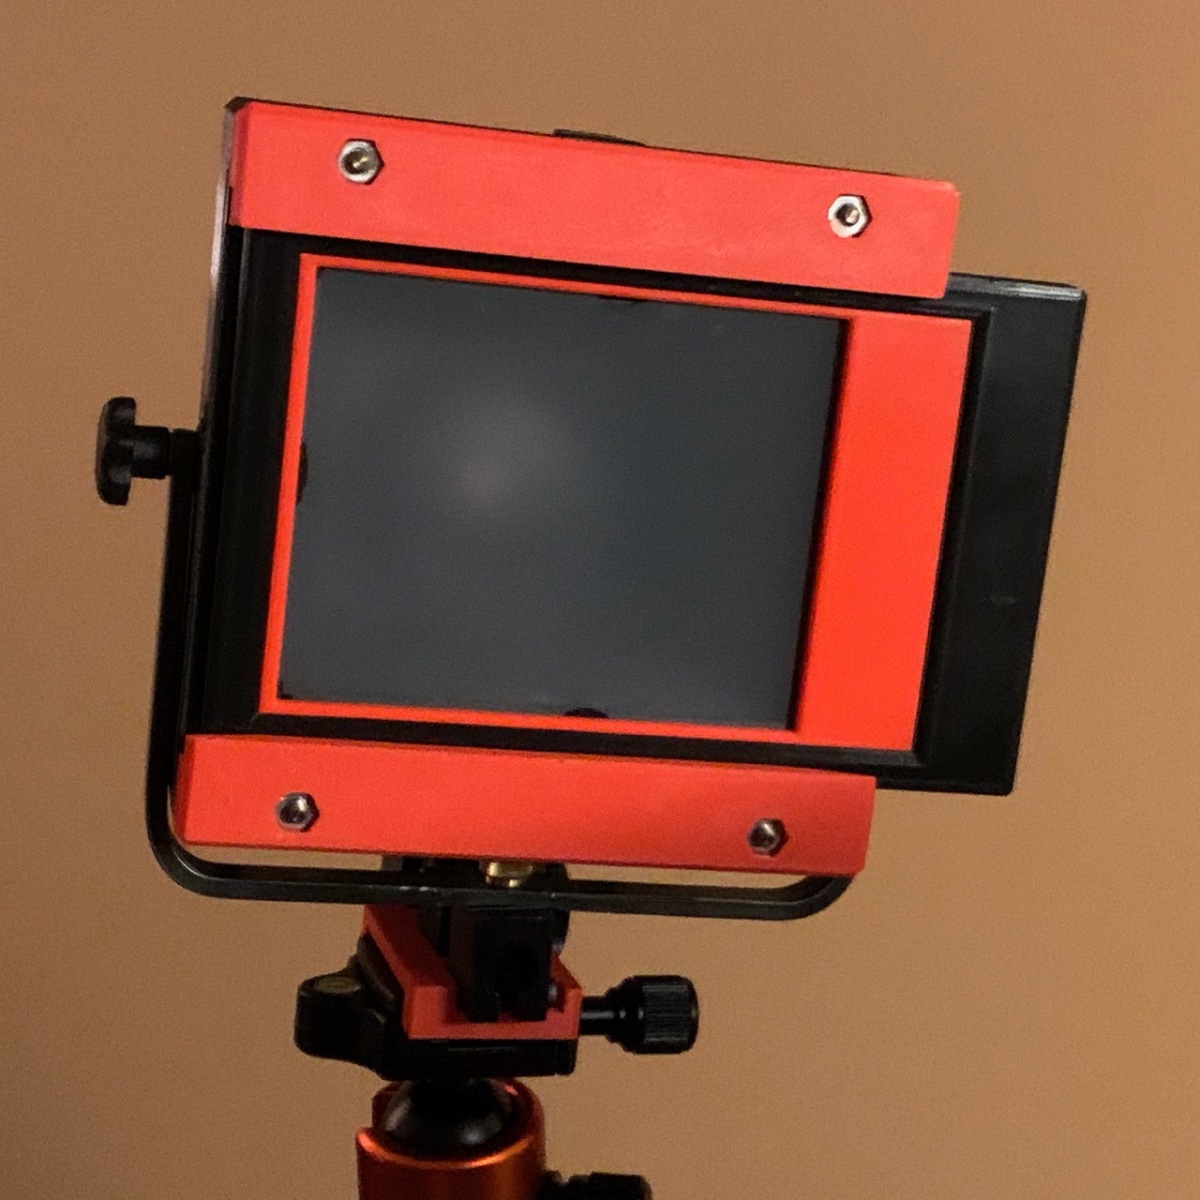
- The frame is the most complex piece. It’s box-like and designed to fit over the existing rear standard casting. There is no physical connection to the camera; the back slips on from the front and is secured with nuts, bolts, and springs to the rails that hold the film holder or focusing screen in place.
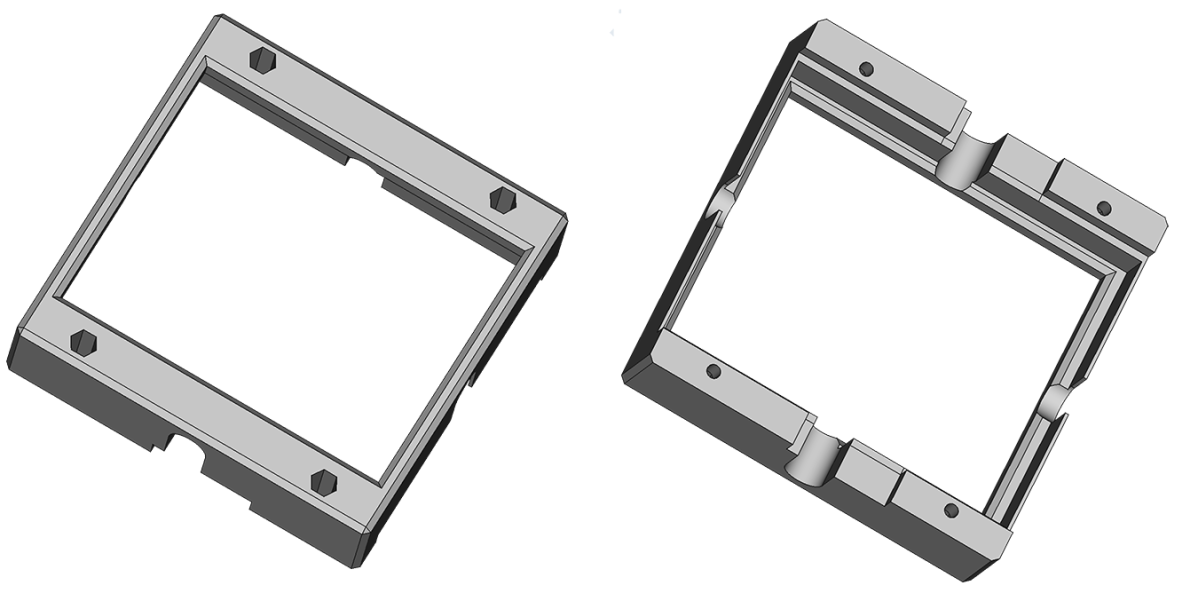
- Parts 2 and 3 are the rails. They are identical and were made by printing, then sanding and waxing the surfaces to insure smooth operation.


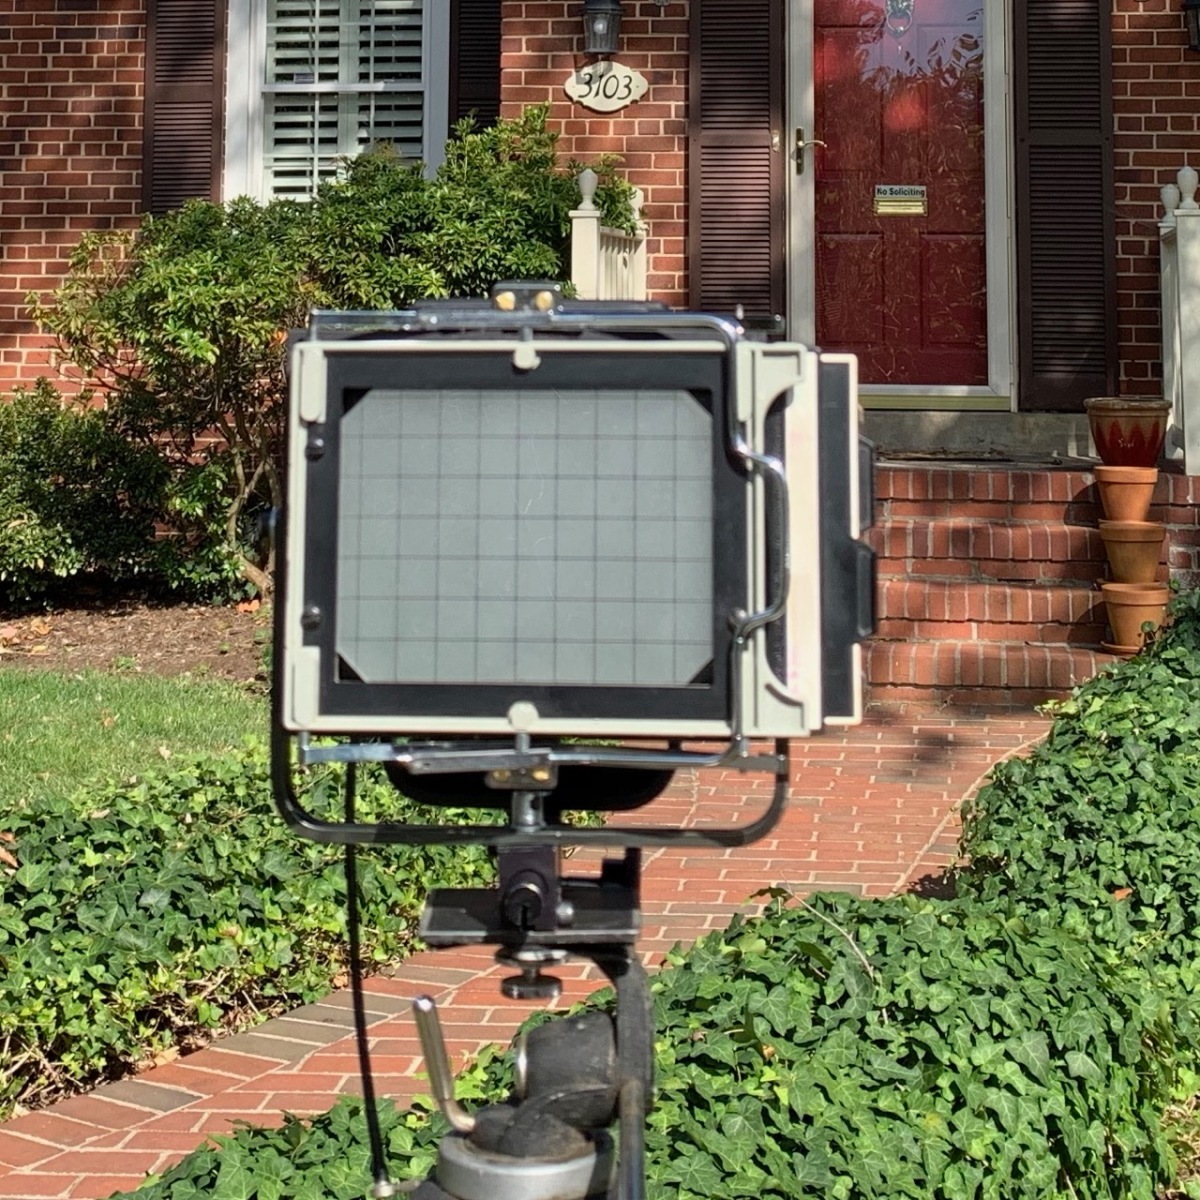
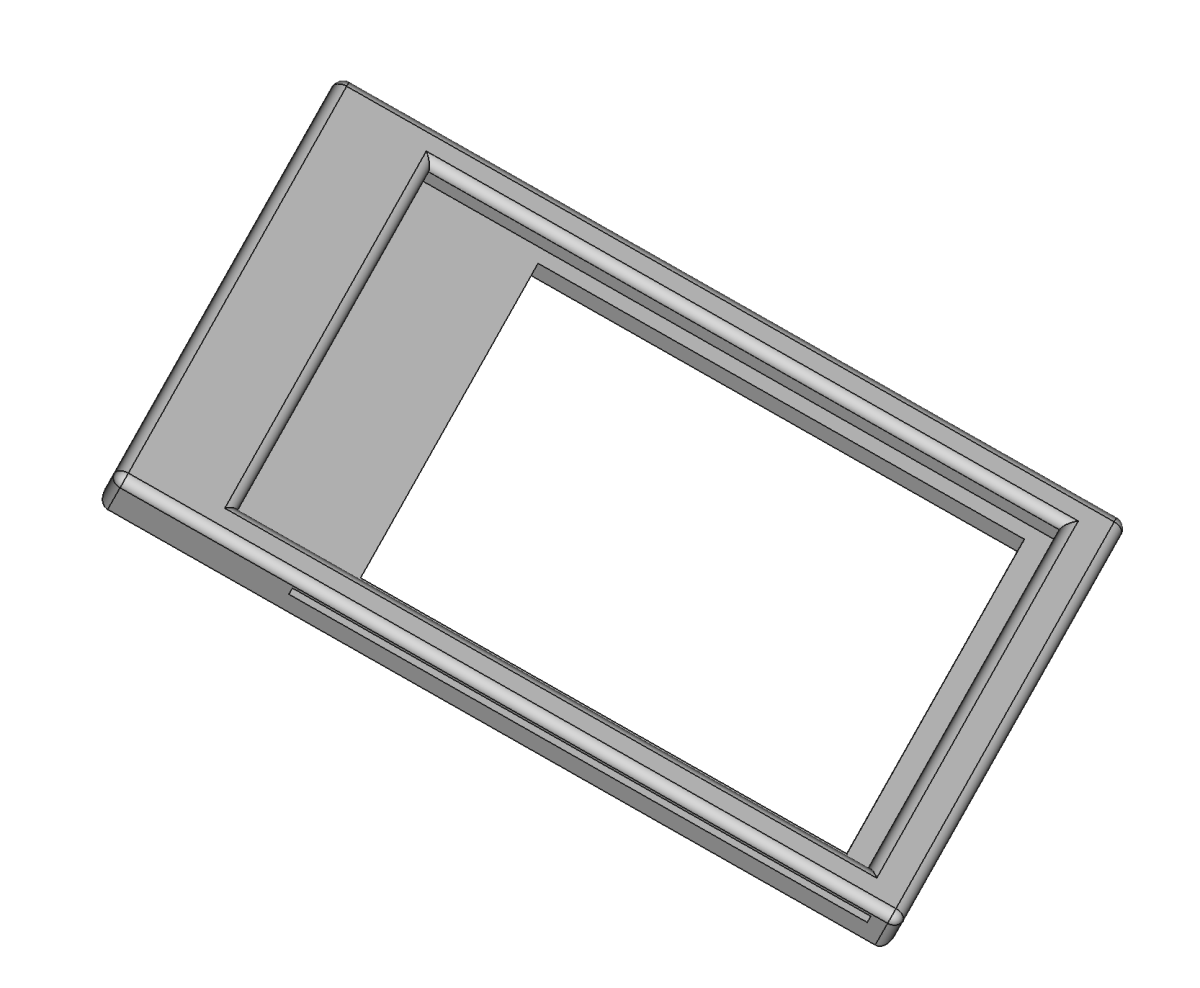
- Part 4 was the frame of the focusing screen. It was modeled after a 4×5 film holder. The aperture opening is 3.7″ x 4.625″, with a 4″ x 6″ opening designed to hold the ground glass 0.197″ from the front surface of the focusing screen’s frame. The distance is from the ASA standard Z38.1.51-1951.
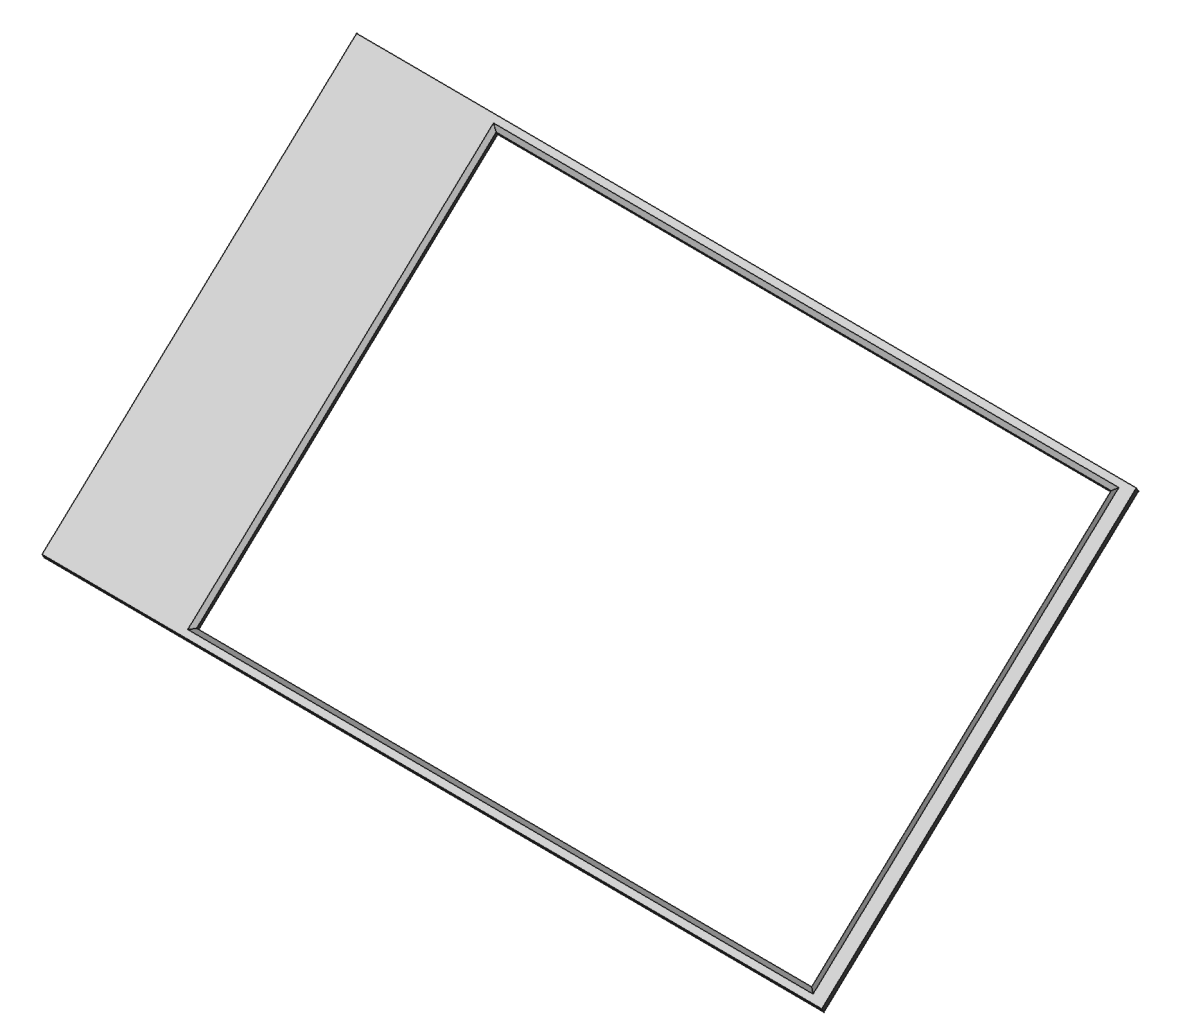
- Part 5 is a mask that shows the image area of a 4×5 sheet and serves to hold the glass in place.
- Part 6 is the ground glass. It’s a piece of glass from a cheap picture frame. I ground it using a 600 grit silicon carbide slurry. That was the first time I tried it…easy. There are lots of videos on YouTube that show the process. (I purchased the silicon carbide powder from Gritomatic. It was $12 + shipping for 200 grams…enough to make as many ground glass screens as I’ll ever need.)
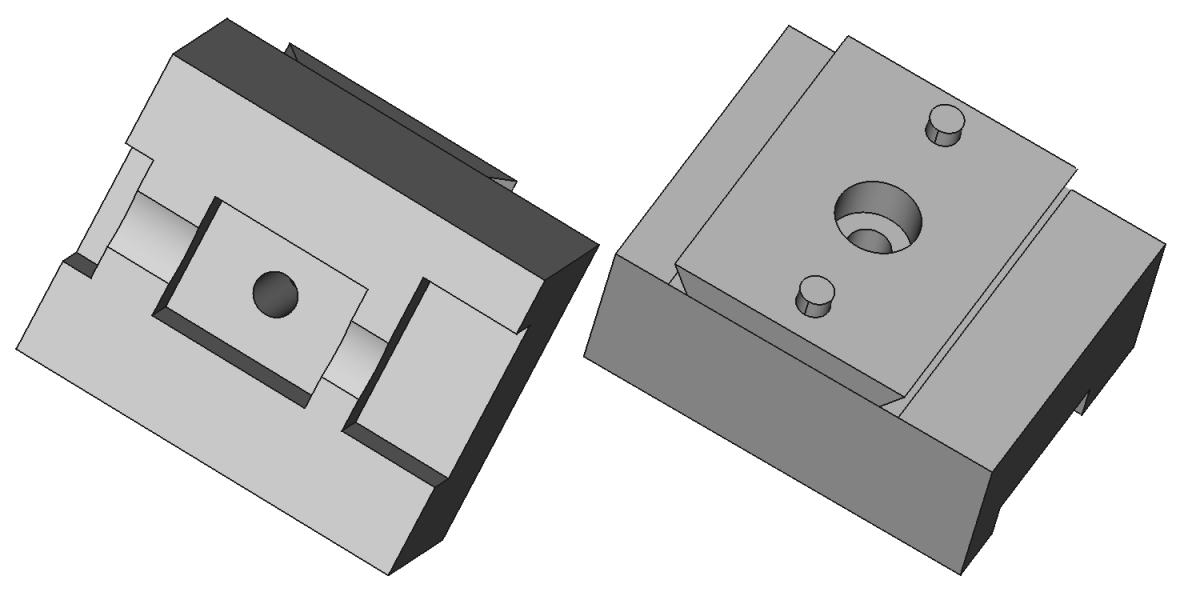
- Not really part of the camera, but just as important was the adapter designed to mate with the quick-release platforms on my tripods. The block on the camera’s focusing rail that contacts the tripod has a tiny surface area (0.75 sq. in.) and had a tendency to rotate on the tripod head. The quick-release adapter prevents any of that movement and makes setting up the camera a breeze.
Shooting with the camera
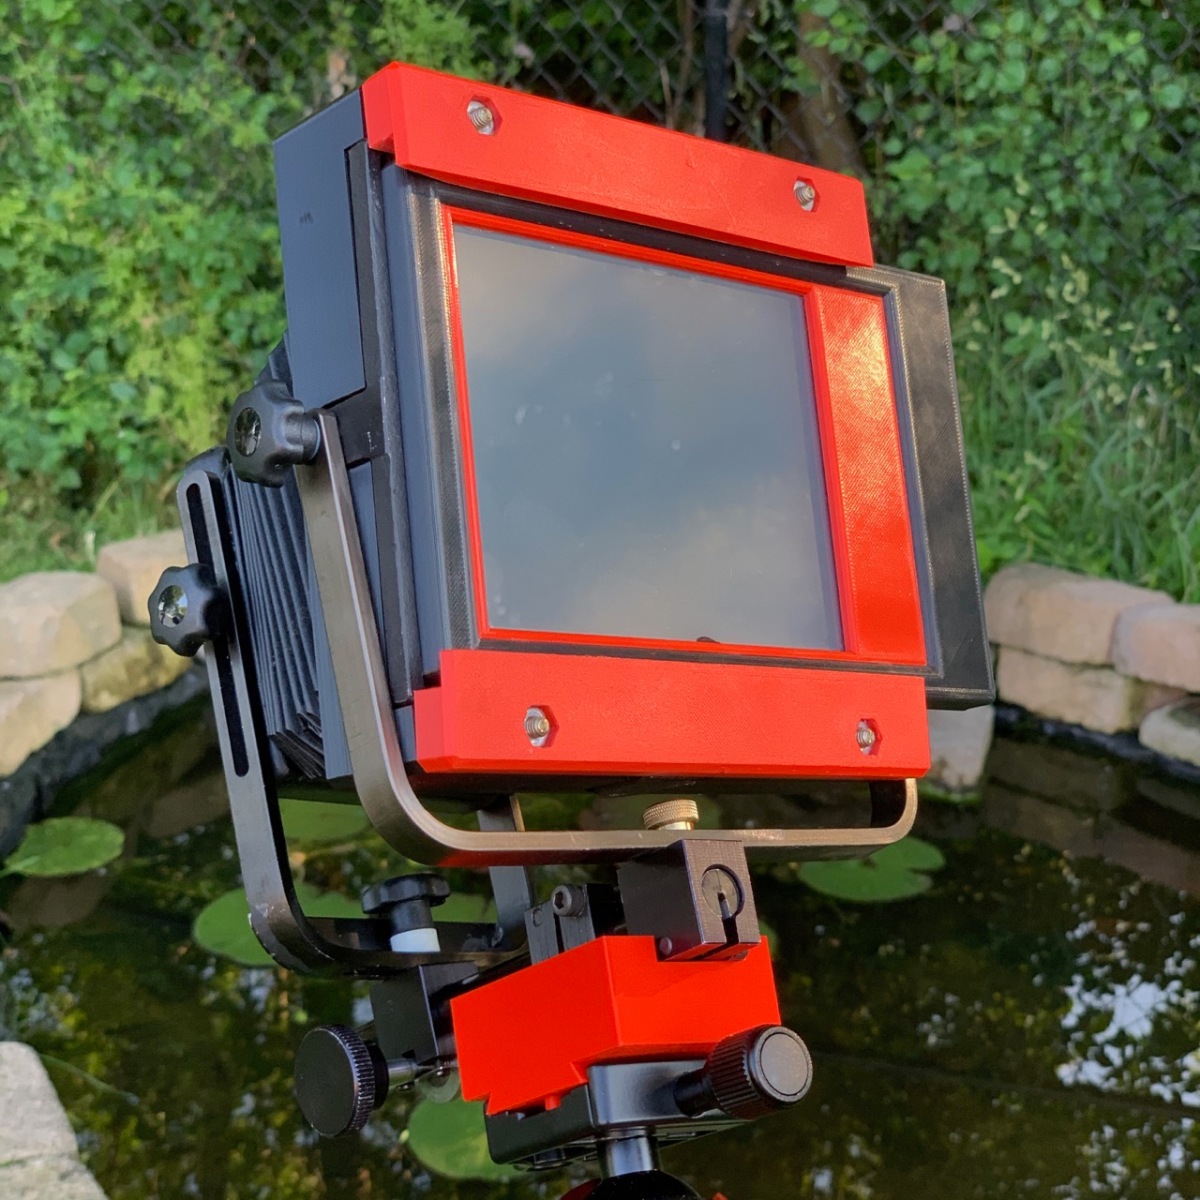
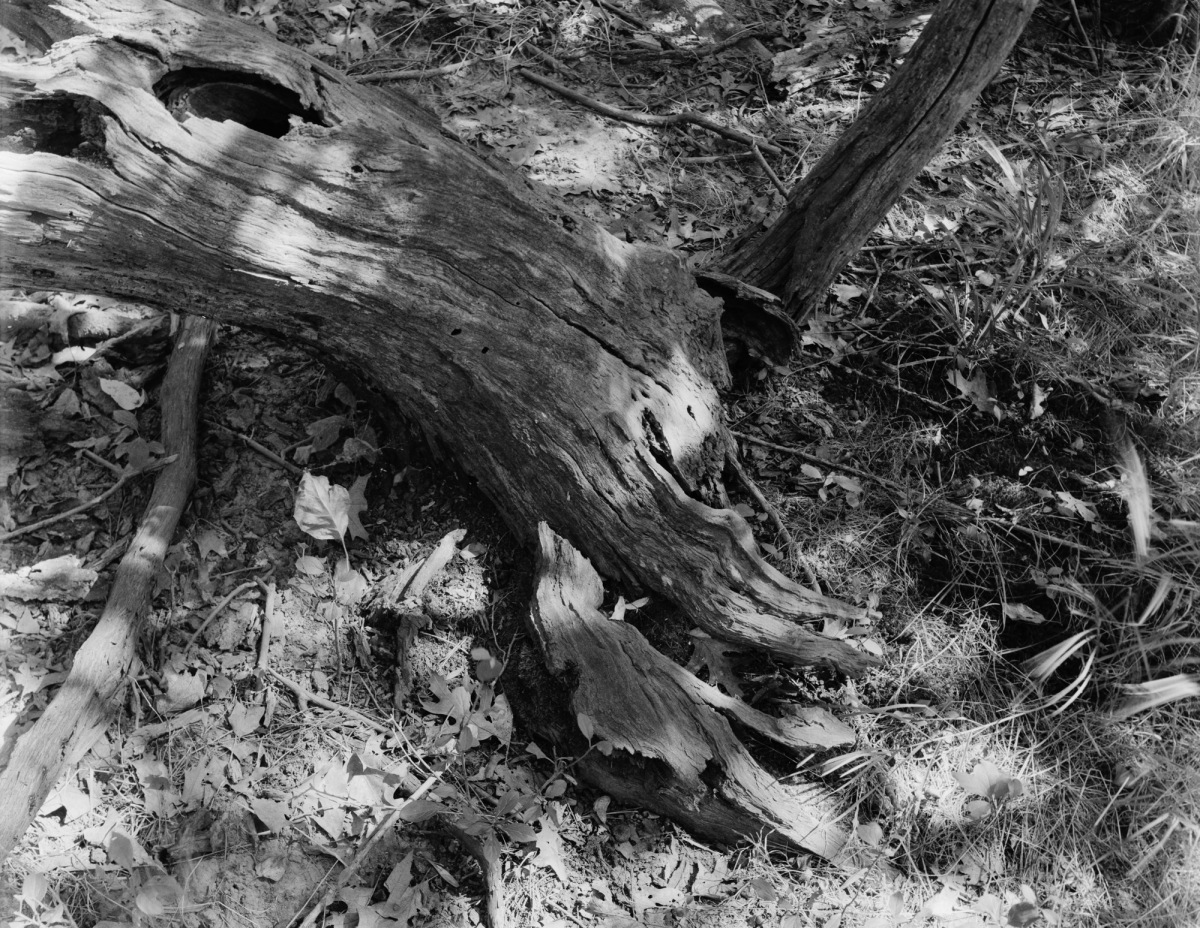
It’s much better now. Loading film holders no longer knocks everything out of whack. The camera is light enough to take anywhere and I’ve used it more in the past several months that I had in the last 30 years.
Unfinished business
There are a couple of things left to do. Most annoying is the knob that locks the rear swing. The camera was originally furnished with a socket head screw fitted with an aluminum head with a hole so that it could be tightened with an Allen wrench (used as an arm or lever, not a wrench). It looked gross, so I replaced it with a brass knob. That was a bad idea…you almost need pliers to tighten it. I could drill a hole in that and go back to the arm idea, but I think I’ll try filing the brass knob square and design a 3D printable handle or wrench-like design to slip over it. It’s got to be small enough to fit over the knob and long enough to give sufficient leverage to tighten the screw.
The other thing the camera needs is a proper carrying case. I’m in the middle of that design now. It will be a two-piece 3D printed box that will secure the unassembled camera, lens, and focusing screen with room for a couple of film holders. The whole affair will fit in a small canvas messenger bag.
Additional links
Review of GPV, 2010, Brian Wallen
